
What's better than festive nail polish? This tutorial features classic polish with a little halloween flare. Try it out :)
What you'll need:
-Black nail polish of your choice.
-Top coat/base coat of your choice.
-Clear based glitter polish (optional)
-Sally Hansen Salon Effects nail polish strips in Ghoulie Girl


Step 1:
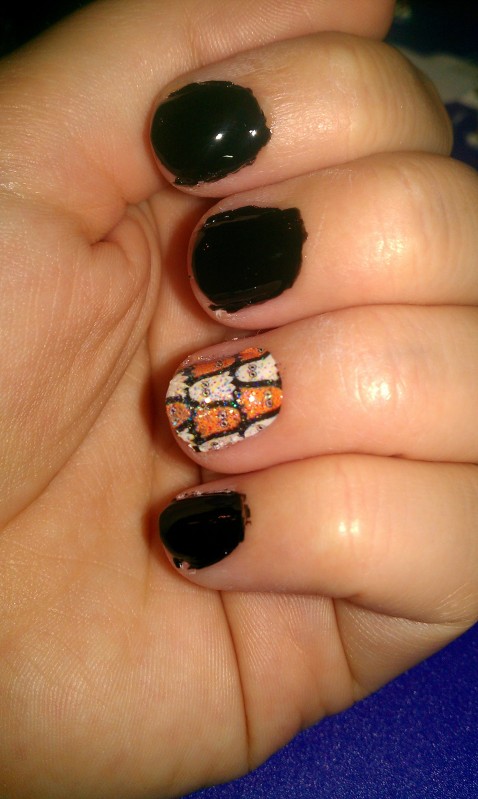
Apply your base coat polish to all of your finger nails, aside from your ringer finger. Then open & lay out all of your Salley Hansen nail polish strips.
Step 2: Find the best nail polish strip fit for your ring fingernail.

Step 3: Follow the instructions inside the page on how to apply these strips. Once applied, it strip should fit on your nail snugly.

Step 4: Apply black nail polish to all of your other nails, aside from the ring finger on this hand. Once you have applied the polish, you can apply your top coat as well as a layer of glitter polish to your ring finger (p.s. don't forget to clean up any access nail polish around your nail like I did ;) )

Step 5: ENJOY! Now you have a cute halloween themed look. Plus, you can go back and use the rest of the strips a different day, just leave the ring finger a different color as your accent nail.
Hope you like it!
No comments:
Post a Comment